IBM USB Numeric Keypad (KU-9880)
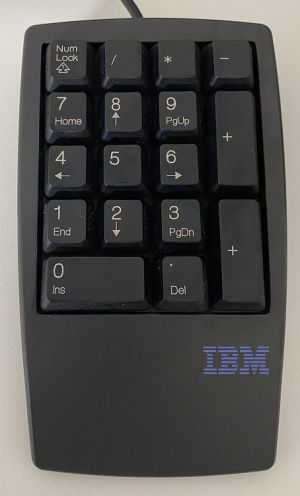
The KU-9880 is a 17-key numeric pad and is designed to use with an IBM Thinkpad which doesn't have a dedicated numeric section on its keyboard. It works as a typical external USB-keyboard, so you can hook it up to almost anything.
How to disassemble[edit]
Taking this device apart is quite simple. You'll need a Phillips screw driver, a flat screw driver for popping off the keys, and a very thin plastic card to separate the bottom part from top part.
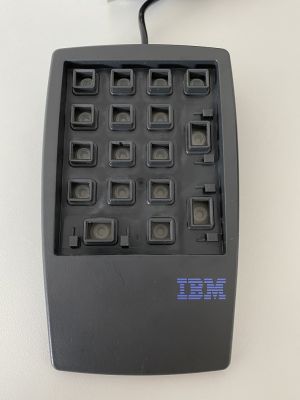
| Step 1: Remove all the keys
Use a flat screw driver to carefully pop off the keys. It requires a moderate amount of force so you should be careful not the break the plastic stems. Be extra careful with removing the 'longer' keys (i.e. the 'zero/insert'-, 'plus'-, and 'minus'-key), because they have a metal guiding rod underneath. |
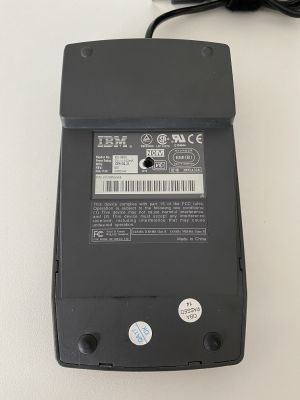
Step 2: Remove the bottom screw
While not immediately visible, there is one screw on the back of the device underneath the sticker. Feel where the hole is, cut the sticker to expose the screw and unscrew it. |
Step 3: Remove the top cover
The bottom and top halves are held together by eight latches, which are visible on the bottom. Carefully pry a very thin plastic card between the two parts and lever them apart so that it unlatches at one point. Then work your way to the next one, etc., until the halves are separated. Be careful not to damage the plastic. Using a screw driver for prying probably results in scratched or even broken plastics. |
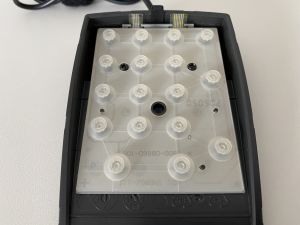
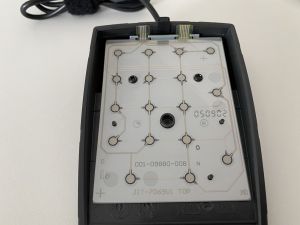
| Step 4: Remove the rubber dome pad
The rubber dome is held in place only by three plastic stems, so you can just take it out. |
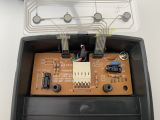
Step 5: Remove the metal plate
Underneath the capacitive films is a metal plate. The capacitive films are attached to the circuit board underneath with two small ribbon cables. Carefully fold the metal plate and the films over the top of the device and just take out the metal plate. Be sure to slide the plate slightly down towards the even narrower part of the ribbon cables. |
Step 6: ...
Under construction |
